

Casting Resin Jewellery and Homewares
Safety First!
Before using our products, please read the SDS and TDS, located under the product description on our websites. Always use resin in a well ventilated, dedicated space, away from children and animals. Use personal protective equipment such as gloves, mask, goggles and an apron whilst measuring, mixing, casting or sanding resin. Resin is not recommended for use by children under the age of 18, or during pregnancy.
Choose your resin and ready to use silicone moulds
Barnes Clariti, Barnes Epoxycast and Barnes Bqueen are all popular choices for casting Jewellery and small homewares. We have a large range of ready to use silicone jewellery and homewares moulds for you to get started on your resin journey. For more information on choosing the best products for your project or technical assistance, you can speak to our friendly team in-store, or email our support team at [email protected]
Get ready to create
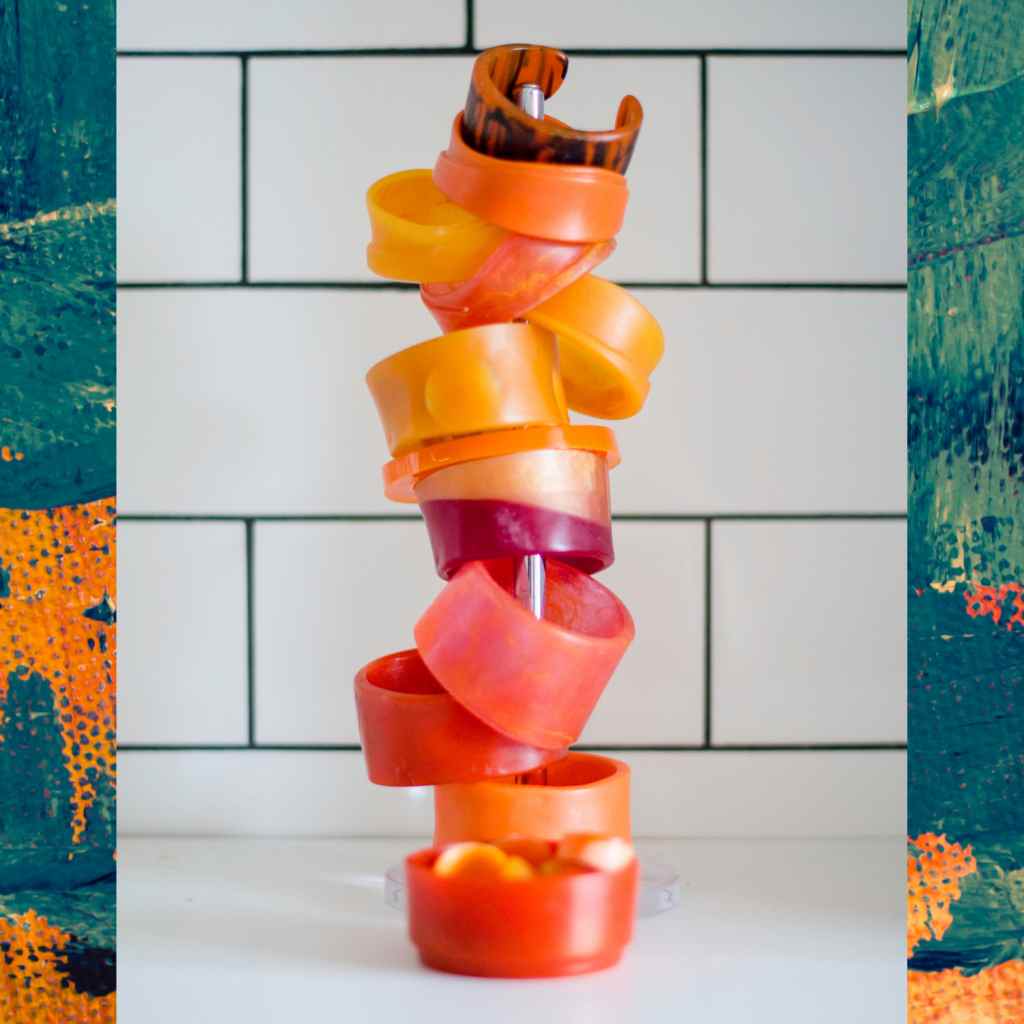
For this project we are using Barnes Epoxycast clear casting epoxy resin in our ready to use Barnes Broadband silicone bangle mould.
Prepare your workspace by covering your work surface with a plastic drop sheet. Make sure your silicone moulds are at least 20cm back from the edge of the table.
Choose your colour scheme. You can use a single opaque or transparent colour, or you can use a combination of colours in one or pour in multiple layers. Use a range of Barnes pigments, dyes and powders to create a one of a kind piece of resin jewellery or homewares.
Put on your personal protective equipment, have your silicone mould and mixing & measuring utensils at hand and you are ready to create!
Measuring and Mixing
Barnes hand made jewellery and resin moulds all have an approximate resin quantity needed to fill the mould on the product insert. This project will require 60mls of resin.
Barnes Epoxycast clear epoxy casting system is packaged in an easy to use 2:1 ratio, so for this project we will require 40ml of Part A, and 20ml of Part B.
Pour 40ml of Part A into a 60ml measuring cup. Pour 20ml of Part B into a second 60ml measuring cup. Pour both parts into a plastic cup at least 100ml in volume, and mix thoroughly for two minutes. Pour the contents of this cup into a second plastic cup and mix for a further 2 minutes. This will ensure that the resin cross links correctly. Once the two parts are mixed, you will have approximately 40 minutes working time depending on the ambient room temperature.
Pigmenting and Pouring
At this point you can either pigment the mixed quantity of resin with one colour, and pour directly into your mould, or split it into two plastic cups, to pigment in two different colours, and pour simultaneously into your mould to create a swirl colour effect. This works best when one colour is Barnes Opaque white pigment to create a contrast.
Advanced pouring techniques may include dusting the internal mould with powder pigments or pouring in stages to create a layered effect by only mixing half of the required resin to fill the mould, waiting for this to partially cure, and pouring a second layer in a different colour.
Barnes Epoxycast is an optically clear resin, so it is perfect for use with transparent colours or may be left clear.
When filling your mould, slowly pour from above the mould, into one area of the mould. Depending on how open or closed the mould is, will dictate how high or close your pouring vessel should be. The resin will naturally spread throughout the mould.
Don’t overpour the mould, as this will make it harder to finish the poured edge. Under or overpouring creates more work when sanding your item.
Whilst the item is curing, you may like to cover it with a cardboard box to avoid any dust particles falling into the resin during the cure time.
Demoulding and Finishing
Wait approximately 16-24 hours until the resin is cured before removing the cast bangle from the mould. Resin will take longer to cure in colder weather and may cure faster in warmer conditions. Prematurely demoulding may cause the resin to distort.
Once the resin has fully cured, you may now sand the poured edge. Epoxy gets harder with each day after de-mould, so for the best sanding success wait at least 3-5 days after de-moulding. The internal cast edge will not require sanding as this will be smooth. Use a combination of different grades of wet and dry sandpaper from course to fine to create a smooth finished edge. Sanding in an ice-cream tub with a small amount of water helps contain airborne particles.
What’s next?
Loved casting into our ready to use moulds? Take the next step and create your own mould using our instructions on our Creating a Bangle Mould Project.